Background
We’re back again – another part in our five part series on rolling out web analytics at scale. This article outlines how you can automatically create and configure Google Analytics properties using Google Apps Script. Again, part one, and part two are available here.
The solution
Pre-requisites
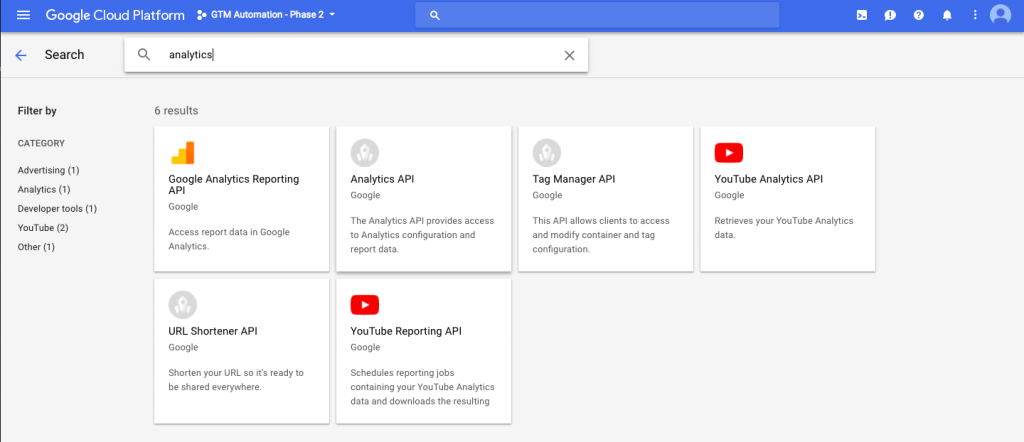
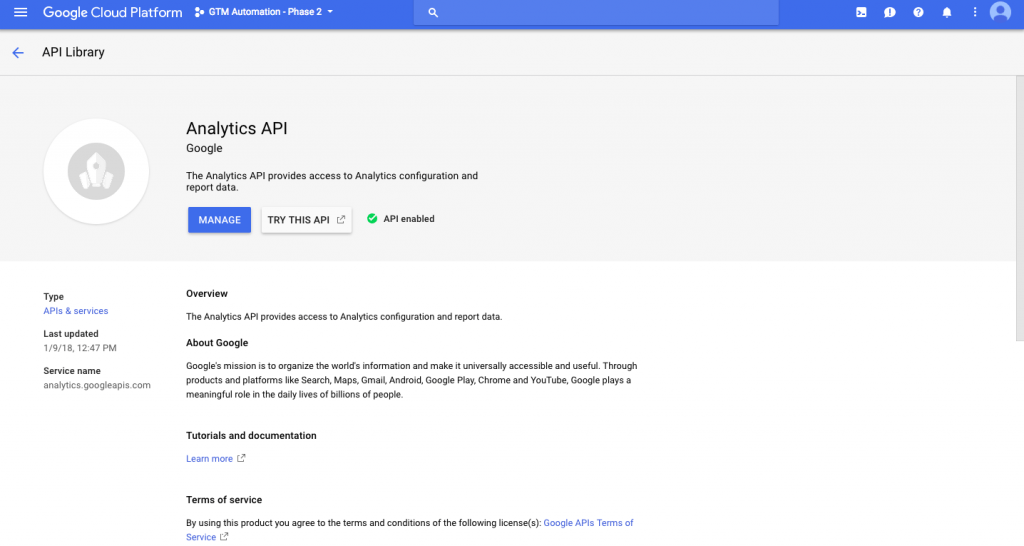
You’re going to need to turn on the Google Analytics API advanced service in Apps Script and enable the API in your Google Cloud project. More detailed instructions can be found in part one.


You’re also going to need a configuration object and the exponential backoff function that were described in part 1.
Creating Google Analytics properties
Back in the day this required whitelisting from Google. Unfortunately accout insert requires some special connections at Google, and I’m not sure if they’re piloting it anymore.
 var analyticsPropertyResource = {
                'websiteUrl': params.websiteUrl,
                'name': params.customerName
            }

            var property = call(function() {
                var property = Analytics.Management.Webproperties.insert(analyticsPropertyResource, params.analyticsAccountId);
                return property;
            });
Creating a view
This example creates a new view called ‘All Web Site Data’. It has ecommerce turned off, the timezone set to NZ time and the default currency set to NZD.
var analyticsViewResource = {

            'name': 'All Web Site Data',
            'ecommerceTracking': false,
            'timezone': 'Pacific/Auckland',
            'currency': 'NZD'

        };

        var view = call(function() {
            var view = Analytics.Management.Profiles.insert(analyticsViewResource, params.analyticsAccountId, params.analyticsPropertyId);
            return view
        });
Creating a goal
This example creates an event goal, where the event category must be exactly ‘Engagement’ and the action must be exactly ‘Email’.
var analyticsGoalResource1 = {

                'id': '1',
                'active': true,
                'name': 'Email Link Click',
                'type': 'EVENT',
                'eventDetails': {
                    'useEventValue': true,
                    'eventConditions': [{
                            'type': 'CATEGORY',
                            'matchType': 'EXACT',
                            'expression': 'Engagement',

                        },
                        {
                            'type': 'ACTION',
                            'matchType': 'EXACT',
                            'expression': 'Email',

                        }
                    ]
                }
            };

var goal1 = call(function() {
            var goal =  Analytics.Management.Goals.insert(analyticsGoalResource1, params.analyticsAccountId, property.id, view.id);
            return goal});
Linking AdWords accounts
You can link more than one AdWords account at once by including more than one in the adwordsLinkResource.adWordsAccounts array.
var adwordsLinkResource = {
             "adWordsAccounts": [{
                     "customerId": "123-456-7891"
                 },
                 {
                     "customerId": "123-456-7892"
                 }
             ],
             "name": "AdWords Link"
         }
         var adwordsLink = call(function() {
             var adwordsLink = Analytics.Management.WebPropertyAdWordsLinks.insert(adwordsLinkResource, params.analyticsAccountId, params.analyticsPropertyId);
             return adwordsLink
         });
Up next
All the stuff we’ve covered is useless unless you can get the containers onto your clients’ websites. Next we’ll be covering how to mass distribute these containers to customers.
Comments
There are no comments on this entry.